Installing an Automatic Booster Pump: Essential and Optional Parts (With Diagram)
A Pump Alone Isn't Enough
With water cuts becoming more frequent across Tunisia, more households are fitting a tank to store water and a pump to pressurise it back into the home. But many buy the pump… only to find it never stops on its own, or that it burns out the first time the tank runs empty.
The reason is simple: a bare pump is just a motor. Plug it in and it runs non-stop. To get an automatic booster — one that starts when you open a tap and stops when you close it — you need a few parts around the pump. The good news: there aren't many, and they're cheap.
This guide shows every component of a booster set, what's essential and what's optional, with a diagram to picture the whole thing.
The Diagram at a Glance

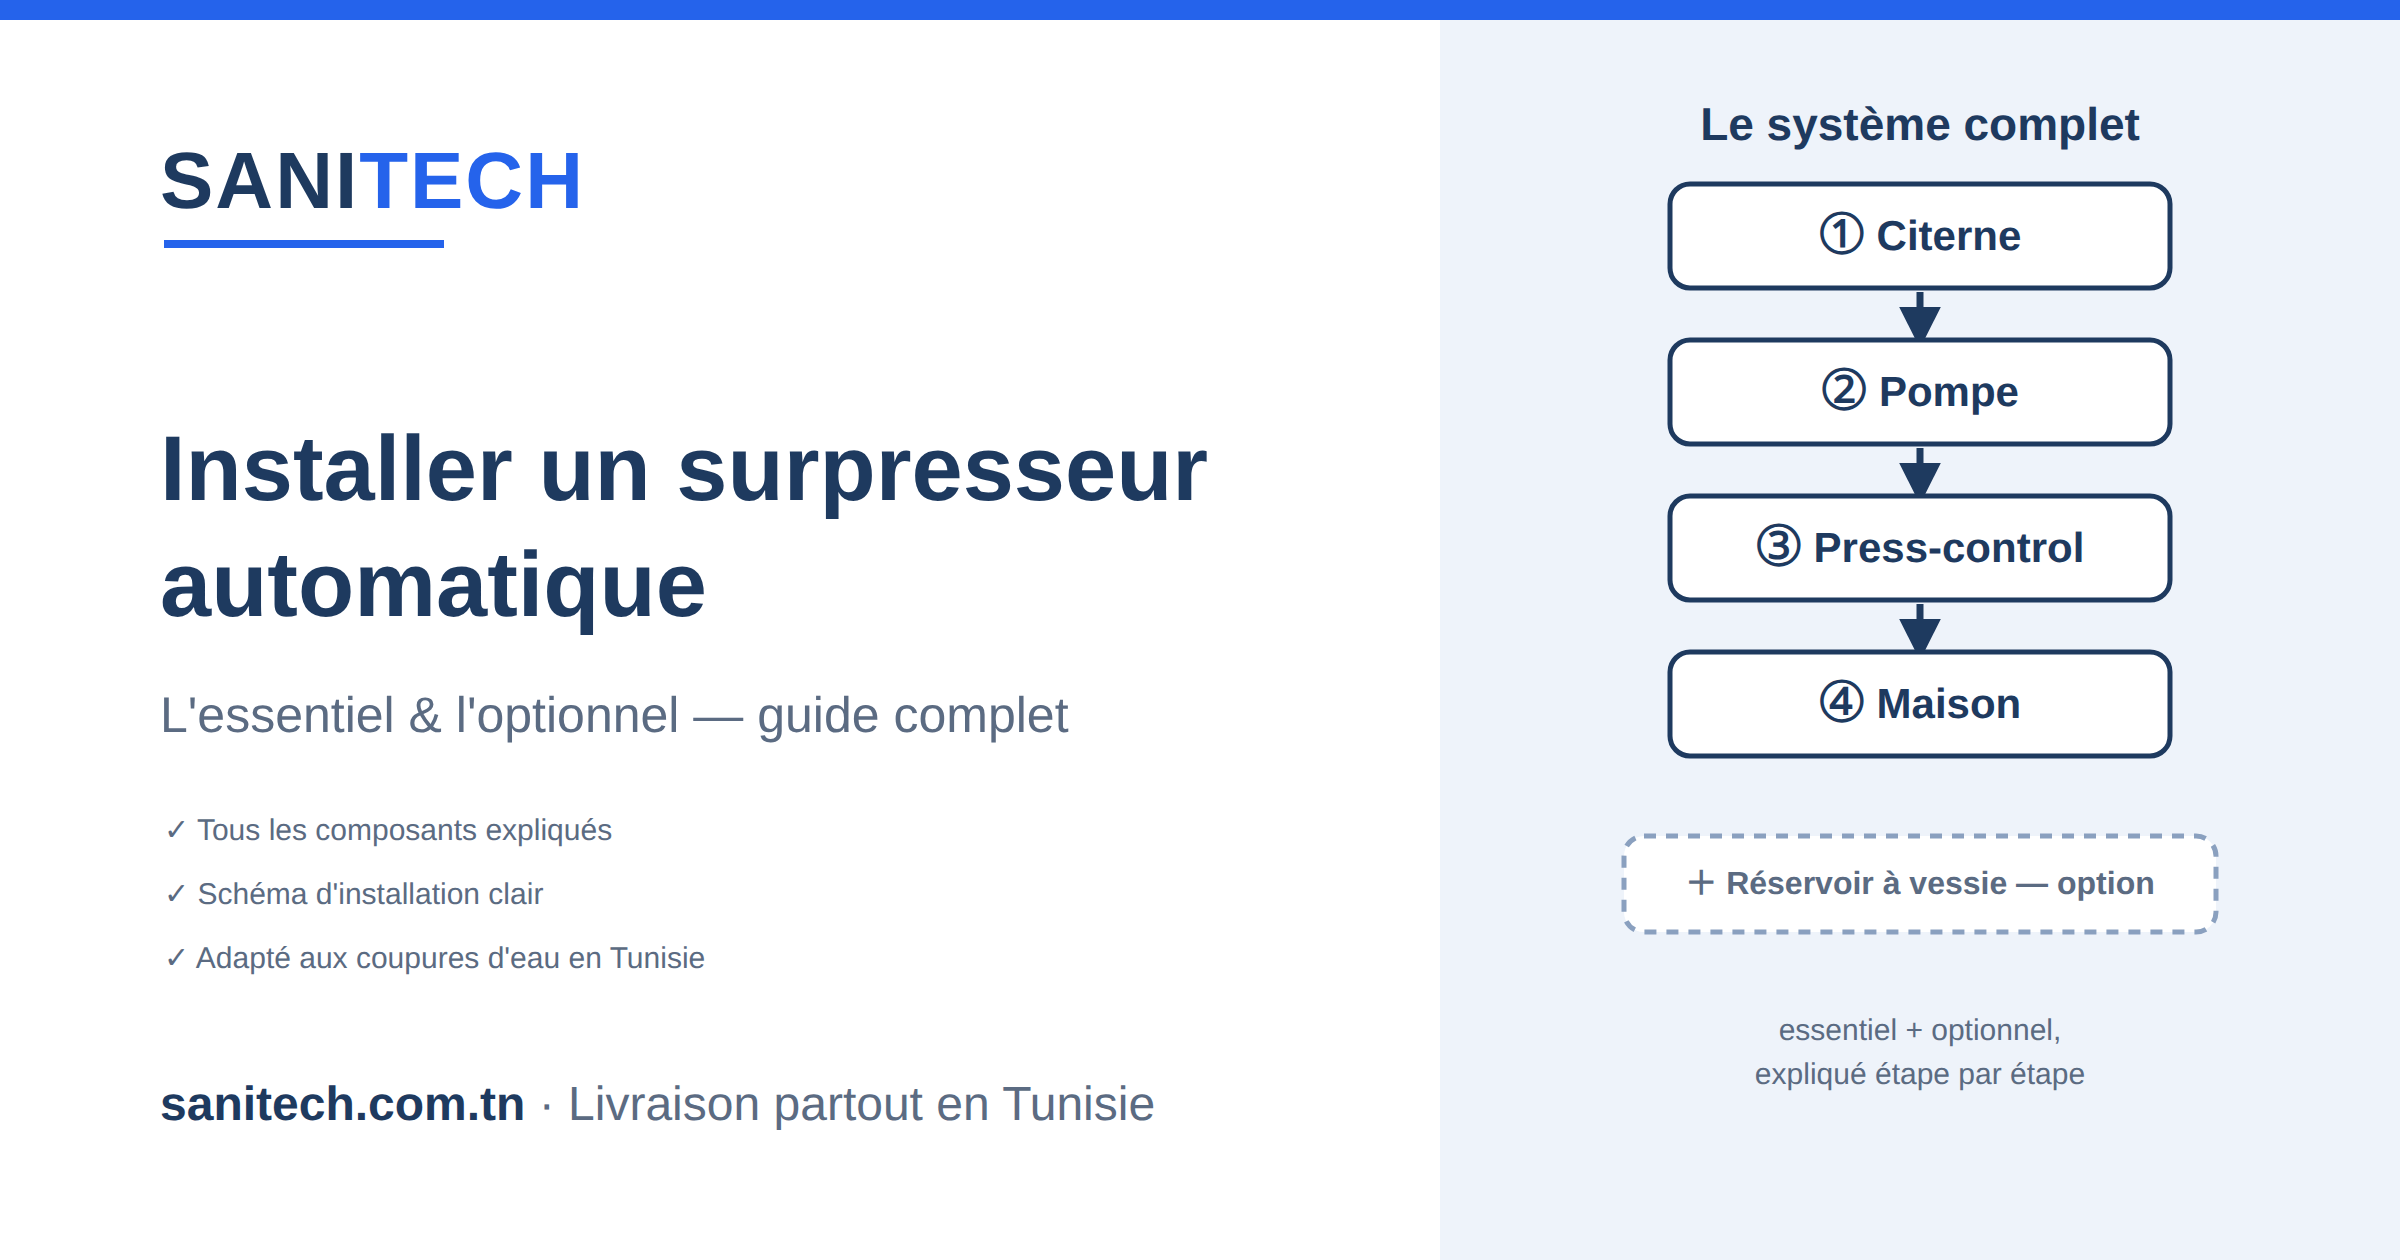
The water's journey, in one sentence: the network fills the tank ② (the float valve ① stops the fill to prevent overflow) → the pump ⑤ draws from the bottom through the foot valve ③ → it pushes water through the press-control ⑥ → out to the taps of the house ⑦. The isolation valve ④ lets you shut off the pump for servicing.
The Essential Components
Here, in the order of the diagram, is what you really need for a working installation:
② The tank — the storage reservoir (250–500 L for a household). It's what keeps you self-sufficient during a cut. Choose a food-grade tank to keep water safe. For sizing, see our guide on how to choose a water tank.
① The float valve — a small float-operated valve at the top of the tank. When network water returns, it auto-fills the tank, then shuts off once full — no overflow, no waste.
③ The foot valve (strainer) — at the end of the suction pipe, at the bottom of the tank. It filters debris and holds the prime (stops water draining back, so the pump doesn't "take air" and restarts cleanly).
④ The isolation valve — on the line, just before the pump. It lets you isolate the pump to remove or service it without draining the whole system.
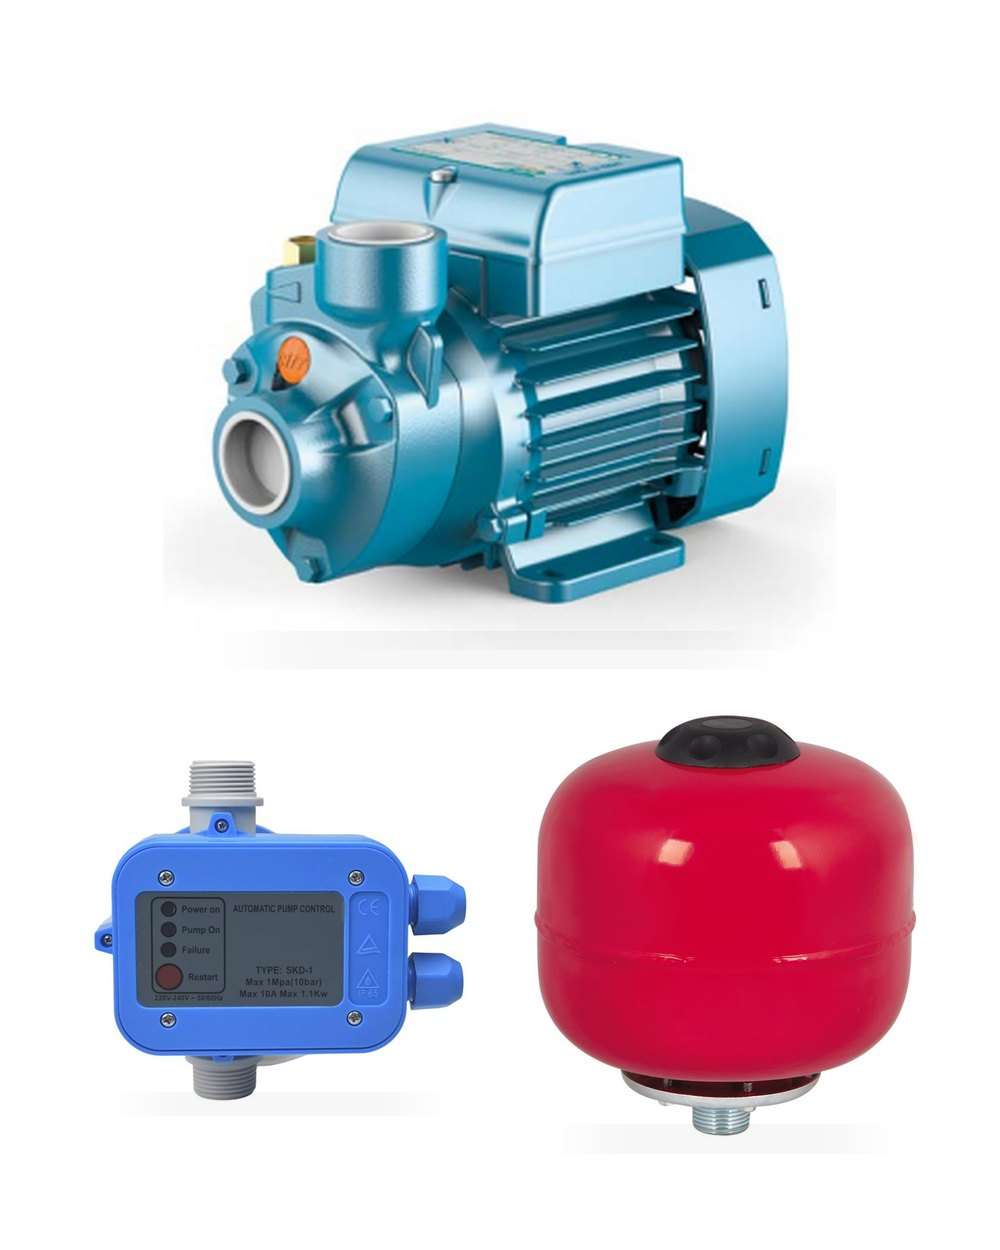
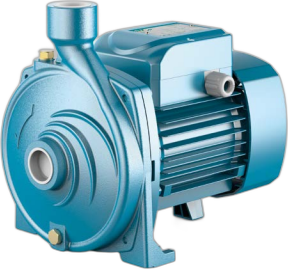
⑤ The pump — the heart of the system: it creates the pressure. This is the part you choose based on your home (see the power section below).
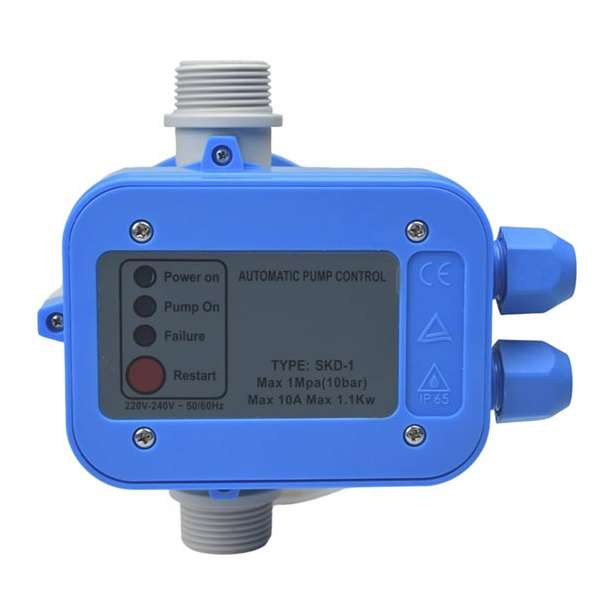
⑥ The press-control (electronic pressure switch) — this is the brain. It senses water flow: you open a tap → it starts the pump; you close it → it stops. It also includes dry-run protection: if the tank empties, it shuts the pump off instead of letting it burn — a vital safeguard when tanks run empty often.
+ Connecting plumbing — hoses, 1" fittings, PTFE tape for the joints. Essential, but cheap and available in any hardware shop.
Essential vs Optional: the Clear Table
| Component | Role | Essential? |
|---|---|---|
| Tank + float valve | store water, fill without overflow | ✅ Essential |
| Foot valve / strainer | filter + hold the prime | ✅ Essential |
| Isolation valve | isolate the pump for service | ✅ Recommended |
| Pump | create pressure | ✅ Essential |
| Electronic press-control | automate + protect (dry-run) | ✅ Essential |
| Hoses, fittings, PTFE | connect everything | ✅ Essential |
| Bladder tank + 5-way fitting | water reserve, fewer starts | ⭕ Optional |
| Mechanical switch + gauge | alternative to press-control (with tank) | ⭕ Optional |
In plain terms: the pump + press-control + foot valve + plumbing already make a complete, working automatic booster. The rest is comfort.
Mechanical Switch or Electronic Press-Control?
This is the part that automates the pump, and there are two types:
- The mechanical pressure switch — a simple spring switch that reacts to pressure. Very cheap and robust, but it needs a bladder tank to work (without one, the pump switches on and off several times a second and burns out). It offers no dry-run protection.
- The electronic press-control — a small box that senses flow. It needs no tank, installs straight on the pump outlet, includes the gauge and a check valve, and — crucially — protects against dry-running.
Our recommendation: the electronic press-control. It's the simplest to install, and its dry-run protection is exactly what you want when tanks empty out during cuts.
The Comfort Option: the Bladder Tank
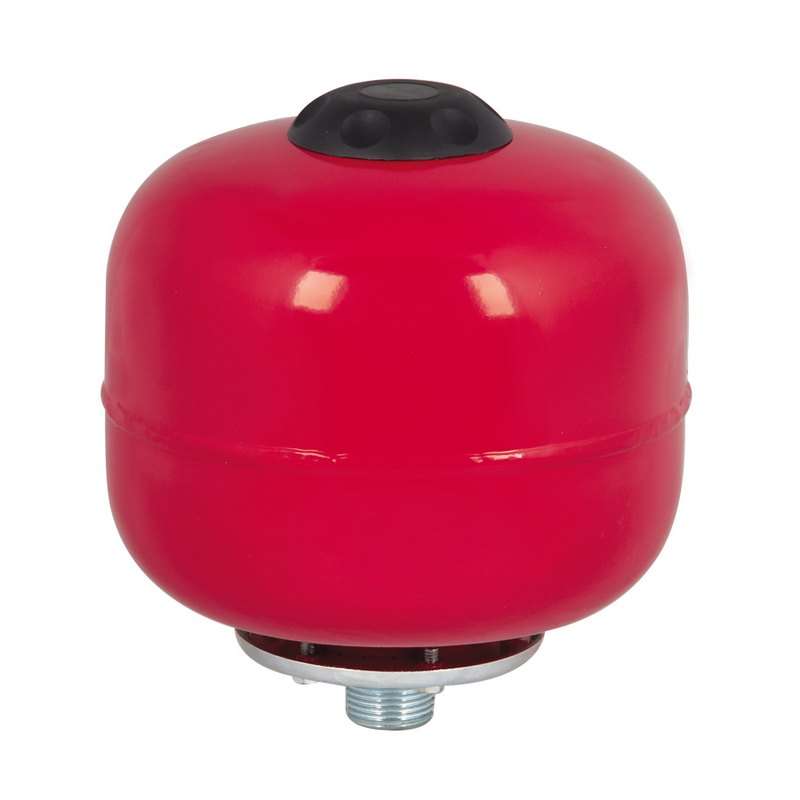
The bladder tank (that blue metal vessel) stores a little water under pressure. It adds two benefits — real, but optional:
- A water reserve during a power cut. The tank keeps water pressurised even when the electricity is off: you can still wash your hands or flush during load-shedding. A genuine plus right now.
- Fewer pump starts. Small draws (washing hands) are served by the tank without starting the pump → the motor lasts longer.
That's why it's a comfort choice, not a requirement. The tank connects via a 5-way fitting (a brass block that joins pump, tank, switch and gauge at one point).
What About a Pressure Reducer?
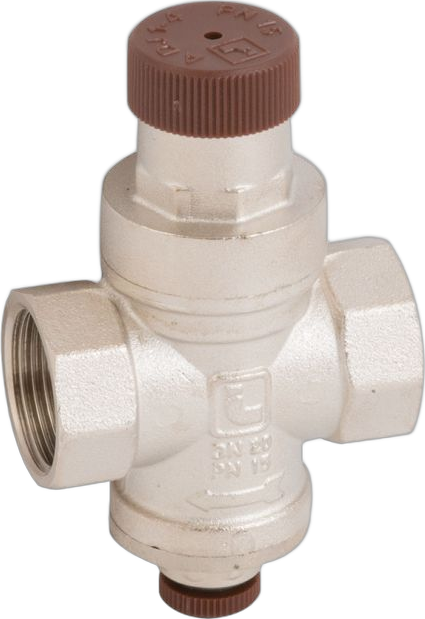
A 1 HP pump can reach 4–5 bar, while a house is comfortable at about 3 bar. If you have a water heater, old hoses or water hammer, add a 3/4" pressure reducer after the press-control. It's optional, and never fit it on a gravity-fed tank (it would cut what little pressure there is). It's all explained in our guide water pressure too low or too high.
Which Power for Your Home?
The pump is chosen by how much water you draw at once and over what height:
- 0.5 HP — for a single- or two-storey home, a nearby ground-level tank, one or two water points. Flow around 35–40 L/min. The most common and economical choice.
- 1 HP — for a multi-storey villa, several bathrooms, or several taps running together. More flow and/or more pressure (up to 90 L/min depending on the model).
For the full 0.5 vs 1 HP breakdown, read our dedicated guide: which booster pump to choose.
Installation tip: place the pump as close as possible to the tank, on a stable surface sheltered from rain. Keep the suction pipe airtight (an air leak prevents priming), and respect the pump's maximum suction lift (often 8 m).
The Complete Kit, No Nasty Surprises
The most common trap: buying the pump alone, then realising the press-control, foot valve or a fitting is missing — and heading back out. At Sanitech, we prepare the complete booster set so everything works from the first install:
- Simple version (recommended): pump + press-control + foot valve + plumbing.
- Comfort version: add the bladder tank for a reserve during power cuts.
Explore pumps and accessories on our pumps & boosters page, and water tanks for storage.
Frequently Asked Questions
Is a pump enough on its own? No. A bare pump runs non-stop while plugged in. You need at least a press-control (or a switch + tank) for it to start and stop automatically.
Do I need a bladder tank? Not necessarily. With an electronic press-control, the pump works without a tank. The tank is a bonus: it keeps water pressurised during a power cut and reduces the number of starts.
What is dry-run protection? It's a safeguard that stops the pump if the tank is empty (no water). Without it, a pump running dry overheats and burns out — the most common failure during cuts.
Does the pump work without electricity? No, the pump needs power. During a power cut, only a bladder tank already under pressure will still give you some water.
Can I install it myself? The plumbing side is simple, but the electrical connection needs care. If you're not comfortable, call a plumber — it's a small job.
In Summary
An automatic booster isn't just a pump: it's a small system. The essentials — tank, float valve, foot valve, pump, press-control, plumbing — are enough to deliver steady pressure to the whole house. The bladder tank is the comfort option that keeps water flowing even during a power cut.
At Sanitech, in Siliana, we prepare the complete kit for you, with delivery throughout Tunisia and cash on delivery. Unsure which components you need? Our team advises you at +216 55 793 122.