Installing a wall-hung WC: the honest guide (support frame, steps & difficulty)
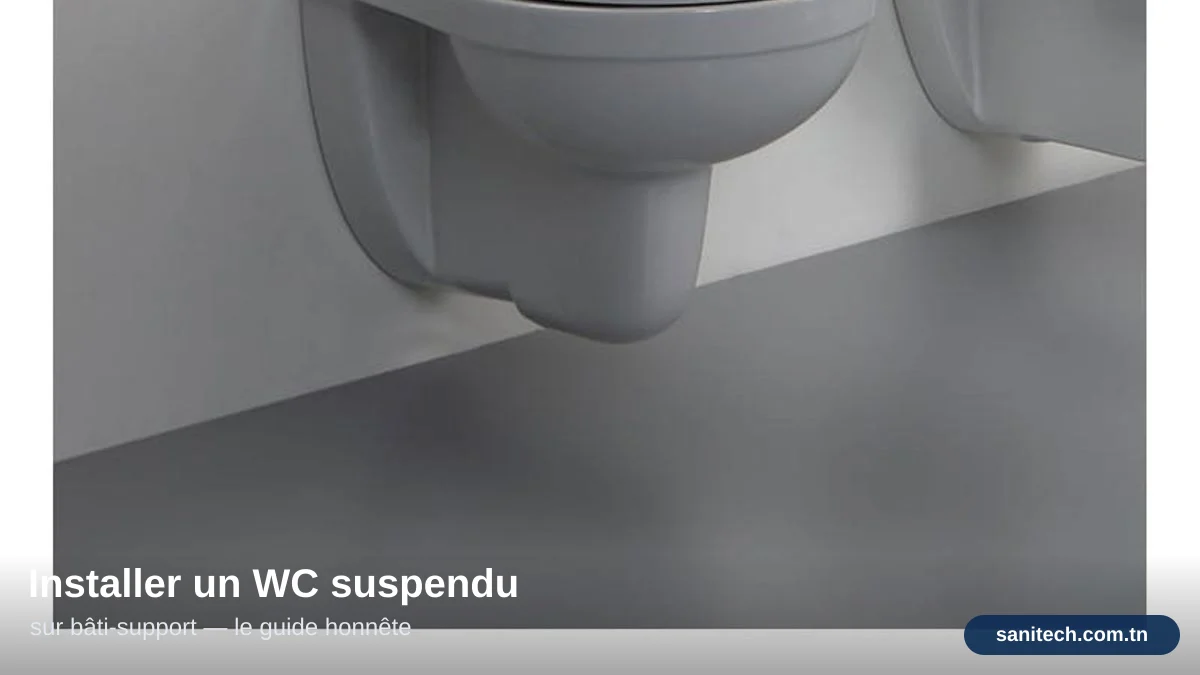
Installing a wall-hung WC is nothing like swapping a mixer in 45 minutes. It's a full project: anchoring a metal frame to the floor and wall, connecting water and drainage, building a technical wall around it, tiling that wall, then mounting the plate and the bowl. This guide walks through every step honestly — with the same question at each one: "can I do this myself, or should I call a plumber?"
What is a support frame (bâti-support)?
A support frame is a metal frame (usually galvanized steel) anchored to the floor and to a load-bearing wall. It does two jobs at once: it carries the weight of the bowl and the user (200 to 400 kg depending on the model), and it hides the concealed cistern inside its structure. Once the frame is enclosed by a wall and tiled over, only the flush plate remains visible — the two buttons or dual-flush pad that triggers the water.
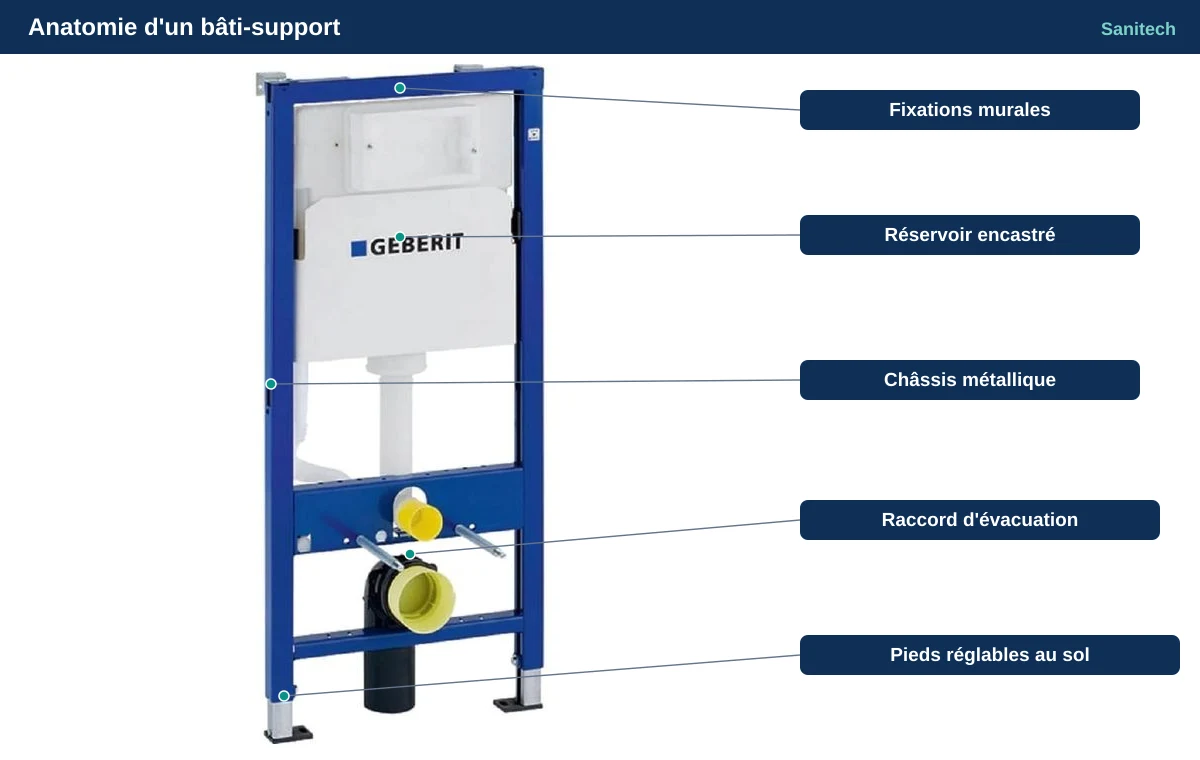
This concealed structure is exactly why a wall-hung install takes far longer than a standard floor-mounted WC: you're not just fitting a bowl, you're building a small technical wall around it. To weigh the pros and cons before committing to that, our comparison Wall-hung WC or floor-mounted WC? is the best place to start.
What you'll need
- Support frame with built-in cistern (150-400 TND depending on brand and max load)
- Flush plate (40-150 TND), matched to the frame — check mechanism compatibility
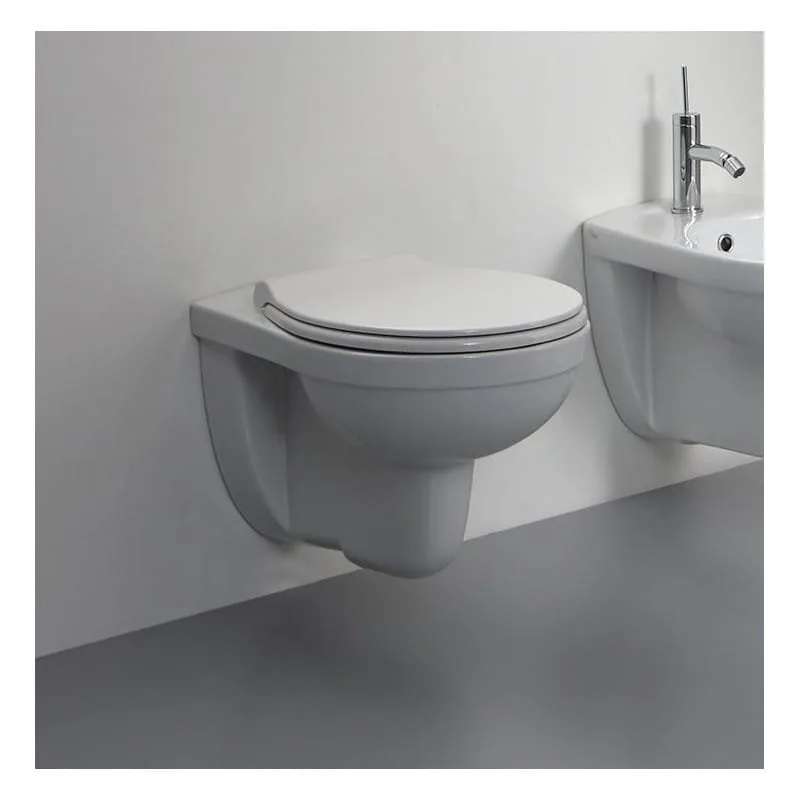
- Wall-hung bowl — for instance our Cuvette Suspendue Azur, 240 TND. Note: this is the ceramic bowl only. The support frame, cistern, and seat are sold separately.
- Toilet seat matching the bowl model
- Fixings: threaded rods and nuts included with the frame, wall anchors suited to your wall type
- Fittings: PVC drain elbow Ø90 or Ø100, water supply connector, bowl gasket
- Wall materials: metal track or plaster brick, moisture-resistant boards, tile adhesive and tiles for the finish
- Tools: spirit level (essential), drill-driver, adjustable wrench, tape measure, pencil, cutter, and a tile cutter if you're tiling yourself
Count everything before you start — a support-frame job often stretches over several days (including drying time for tile adhesive), and finding a missing fitting mid-job delays everything.
Difficulty, time and cost (let's be honest)
Let's be clear: this is not a Sunday-afternoon beginner project. Budget for:
- 4 to 8 hours of actual work just for the frame, plumbing, and connections — often a full day or more if you're also building and tiling the wall yourself, with drying time to respect before fitting anything on top.
- Plumbing skills (watertight fittings, correct drainage slope) and plastering/tiling skills (a plumb wall, clean tile cuts and fitting) — two different trades in one job.
- Cost of hiring a plumber in Tunisia: typically 150 to 300 TND for the frame installation and connections alone, and more (often 300 to 500 TND or above) if the wall build and tiling are also on their plate, or a mason's.
One benchmark to know before you start: the standard height of the top edge of the bowl, once finished, is about 40 cm from the finished floor (tile included) — a bit more for accessibility or senior use. The frame's height is set before it's fixed in place, so this number is decided before anything is set in concrete, not after.
Step by step
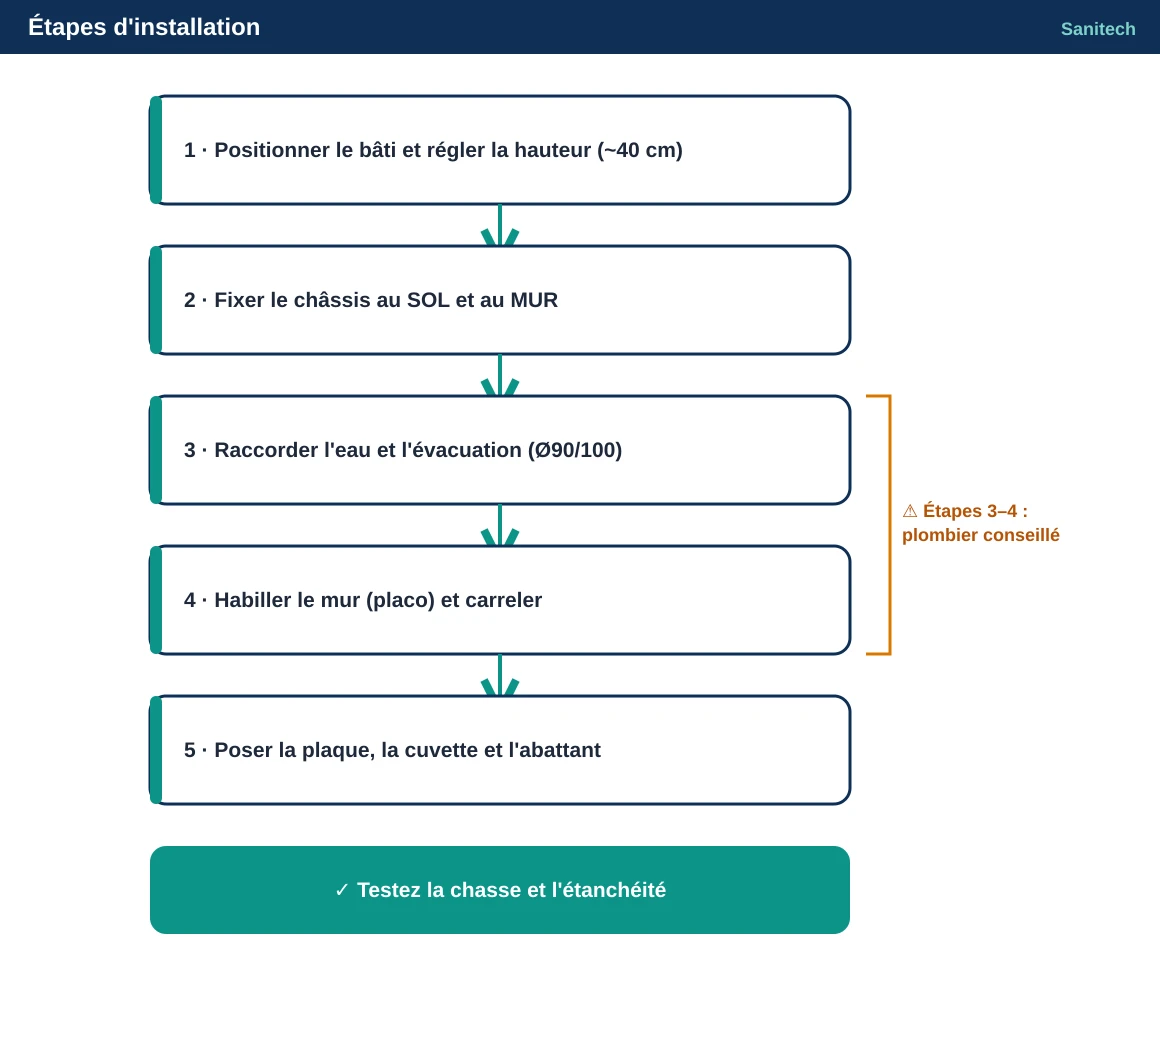
1. Position the frame and set the height
Unbox the support frame and locate its height adjustment (usually sliding feet). Position it against the load-bearing wall and adjust it so the bowl's centerline lands at the correct finished height (about 40 cm, tile included — account for the thickness of the tile you'll add). Check plumb in both directions with a spirit level.
2. Fix the frame to the floor and wall
The frame anchors to the floor (typically 2 to 4 anchor points) and to the load-bearing wall behind it, using the anchors supplied or ones suited to your wall type (brick, block, concrete). This fixing must be rock solid: it will carry the entire load afterward.
⚠️ Call a plumber if... your wall isn't load-bearing, or you're unsure which anchor type to use. A frame that's poorly fixed and shifts in the wall is the number-one cause of leaks or loosening a few months down the line.
3. Connect water and drainage
Connect the water supply to the frame's built-in cistern (usually a standard flexible hose). Then connect the drainage: a PVC elbow Ø90 or Ø100 links the frame's outlet to your sewer line, with a consistent slope toward the drain — a technical point that leaves no room for error, or you'll get bad odors or backflow.
⚠️ Call a plumber if... you need to reroute your existing drainage, or your outlet isn't well positioned relative to the frame. A poorly connected drain (insufficient slope or a too-tight elbow) is invisible once the wall is closed up, and expensive to fix after tiling.
4. Build the enclosure: wall and tiling
Once the frame is fixed and connected, build the technical wall that will conceal it: metal track and moisture-resistant boards, or plaster brick, cut with an opening for the flush plate and — importantly — a service hatch for the mechanism. Tiling then goes on top of this wall, just like any other wall.
⚠️ Call a plumber or mason if... you've never built a partition wall or tiled a straight wall before. A wall that's out of plumb shows immediately in the tile joints, and a badly cut opening around the flush plate is hard to fix afterward.
5. Fit the plate, bowl, gasket and seat
Once the wall is finished and dry, fit the flush plate into its opening. Then position the bowl onto the threaded rods protruding from the wall, place the sealing gasket between the bowl and the drain outlet, and tighten the nuts gradually and crosswise, hand-tight first then a light quarter-turn with a wrench — never fully tightened in one go. Finish by fitting the seat.
Test the flush several times and check for leaks at the base of the bowl and around the gasket before considering the job done.
Common mistakes
- Wrong bowl height — set without accounting for the thickness of the tile to come, resulting in a WC too low or too high once finished, impossible to fix without opening everything back up.
- Frame out of plumb — even a small deviation carries through the whole wall and shows in the tile joints.
- Forgetting the service hatch in the wall — without it, any fault in the flush mechanism means breaking the tile to fix it.
- Over-tightening the bowl on the rods — cracks the ceramic. Firm, gradual tightening, never forced.
- Insufficient drainage slope — invisible when the wall is closed up, a source of odors or clogs later.
Bottom line
A well-installed wall-hung WC genuinely transforms the look of a bathroom, but it's a multi-trade job — plumbing, fixing, plastering, tiling — not a mixer swap. If you're comfortable with plumbing but not with wall-building and tiling, nothing stops you from splitting the work: you fix and connect, a tiler builds and finishes.
For the bowl, our Cuvette Suspendue Azur at 240 TND is a solid starting point — remember to order the support frame, cistern mechanism, and seat alongside it. Browse our full range in Cuvettes WC & Toilettes, and if you're still weighing wall-hung vs. floor-mounted or vertical vs. horizontal outlet, check our guides Wall-hung WC or floor-mounted WC? and Vertical or horizontal outlet.