How to install a bathroom sink mixer: step-by-step tutorial
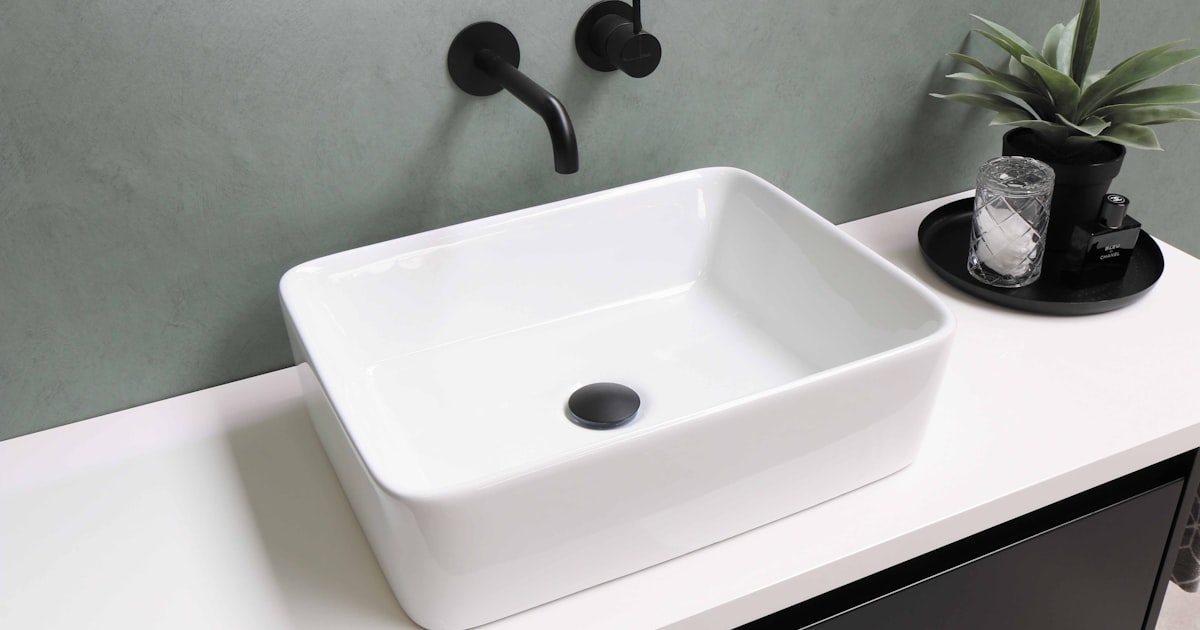
Installing a bathroom sink mixer yourself is no rocket science — it's within reach of any amateur DIY-er, takes 30-45 minutes the first time, and saves 50-100 TND in plumber fees. Here's the complete step-by-step tutorial, with the exact tools you need and the 5 mistakes that waste half a day.
Tools and materials
Tools
- Plumber's wrench (adjustable or pipe wrench) — ~25-40 TND
- 16-18 mm flat wrench
- Phillips screwdriver
- Flashlight or headlamp
- Bucket or rag
- Cutter or scissors
Materials
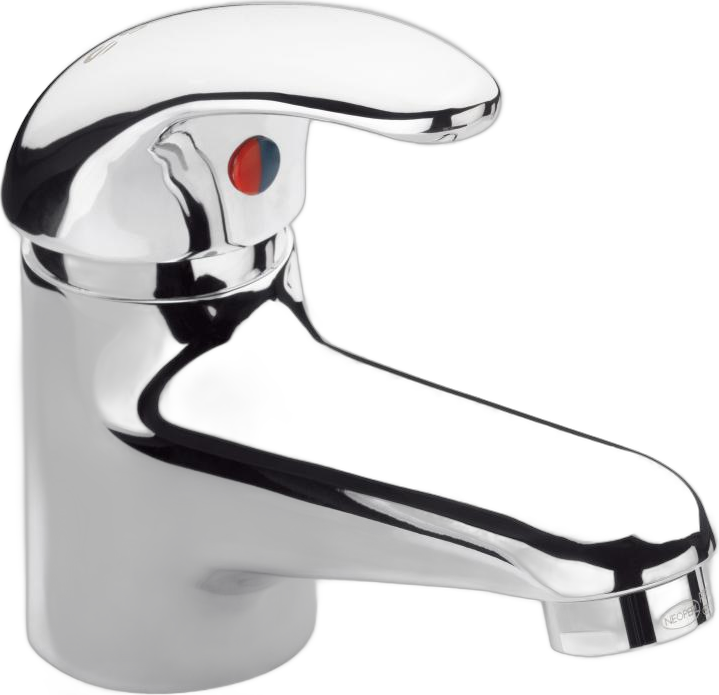
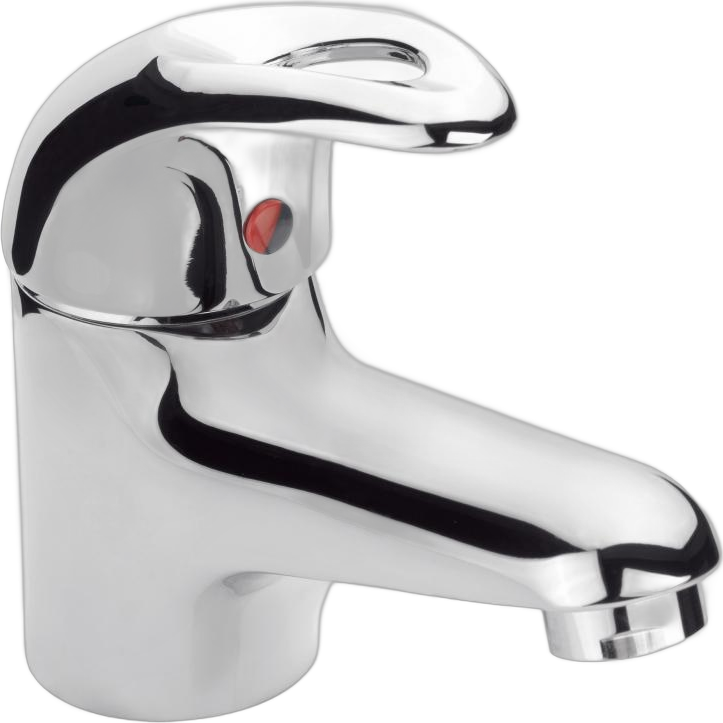
- New mixer (see our price guide)
- Flexible hoses — usually included; otherwise 8-15 TND/pair
- O-ring or sealing washer — usually included
- PTFE/Teflon tape — 3-5 TND. Essential.
Verify you have everything before starting.
Step 1 — Shut off water and prep
- Locate the two shut-off valves under your sink (cold/blue, hot/red). Turn both fully clockwise.
- No shut-offs? Cut water at the main meter.
- Open the old mixer to release residual pressure.
- Place a bucket under the sink for residual water during disassembly.
Tip: photograph current connections before dismantling.
Step 2 — Remove old mixer
- Unscrew flexible hoses from both sides with the flat wrench.
- Find the central nut under the sink. Loosen with plumber's wrench.
- Limescale-stuck nut? Spray white vinegar, wait 5 min, retry.
- Pull mixer up through the sink.
- Clean the area thoroughly.
Step 3 — Prep the new mixer
- Unbox. Verify all parts present.
- Screw flexible hoses into mixer body. Hand-tight + ¼ turn with wrench, no more.
- Wrap 4-5 turns of Teflon tape (clockwise) on the flexible hose threads going to the wall side.
- Verify O-ring is on the mixer base.
Step 4 — Position and fasten
- Pass flexibles through the sink hole.
- Place mixer in hole, centered.
- Underneath: place metal washer, then mounting nut. Hand-tight, then ¼ to ½ turn with wrench. No more.
- Verify the mixer is stable above.
Common mistake: over-tightening cracks the sink ceramic.
Step 5 — Connect to shut-offs
- Screw each flexible end onto its shut-off valve. Hot left, cold right (verify with your photo).
- Hand-tight, then ¼-½ turn with wrench. Teflon does the sealing.
- Visual check: no twisted or pinched hoses.
Step 6 — Test
- Open shut-offs slowly (¼ turn first).
- Inspect under sink with flashlight. Wait 30 seconds — some leaks take time.
- Test at the mixer: cold, hot, mixed.
- Connection leak? Close water, add more Teflon.
- Base leak? Check O-ring position, retighten.
- Clean up. Keep packaging + receipt for warranty.
5 common mistakes
- Forgetting to shut off water — #1 cause of flooding.
- No Teflon — micro-leaks appear in weeks.
- Over-tightening — cracks the ceramic. Rule: firm + ¼ turn, no more.
- Reversing hot/cold — verify before closing up.
- Not flushing the aerator — Teflon residue clogs it. Unscrew, rinse, re-fit.
FAQ — Mixer installation
How long does it take? 30-45 min first time. 15-20 once experienced.
Do I need a plumber? No if you can use a wrench. Yes for old installations without shut-offs.
Stuck nut? Vinegar, wait 5-10 min, retry.
Can I reuse old hoses? No. They age in 5-7 years.
Leak after install? Base: check O-ring. Joints: more Teflon.
Summary
Installing a mixer:
- Shut off water
- Remove old
- Prep new (Teflon!)
- Position + fasten
- Connect
- Test
Total: 45 min first time. 50-100 TND saved. Plus the satisfaction.
See our mixers in stock — delivery throughout Tunisia, cash on delivery.