How to Install a Tap: Step by Step Guide
By Sanitech10 January 20262 min read
Before You Start
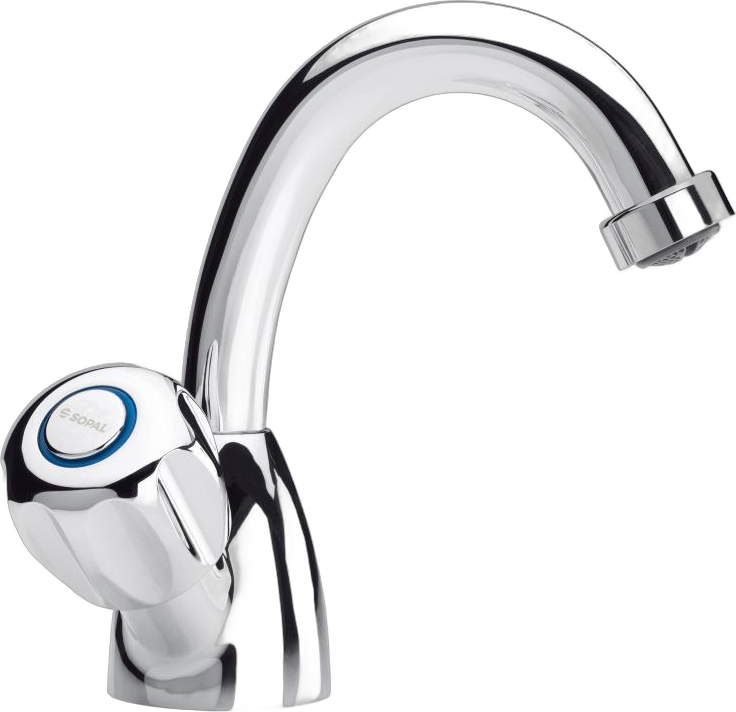
Installing a tap is a project accessible to any DIY enthusiast. Follow this guide for a successful installation.
Tools Needed
- Adjustable wrench
- Flat spanner (10mm, 12mm)
- Screwdriver
- Teflon tape (sealing tape)
- Basin to collect water
- Torch
Step 1: Preparation
Turn Off Water
- Close the isolation valves under the basin
- If no valves, close the main supply
- Open the tap to drain the pipes
Protect the Area
- Place a basin under the connections
- Protect the floor with towels
Step 2: Remove the Old Tap
- Disconnect the supply hoses
- Unscrew the fixing nut under the basin
- Carefully remove the tap
- Clean the basin surface
Step 3: Install the New Tap
Prepare the Tap
- Insert the supplied gasket
- Pass the hoses through the basin hole
Fix the Tap
- Position the tap in the hole
- Under the basin, install the washer
- Tighten the fixing nut (don't overtighten)
Connect the Hoses
- Apply Teflon tape to the threads
- Connect the cold water hose (marked blue)
- Connect the hot water hose (marked red)
- Hand tighten then 1/4 turn with the spanner
Step 4: Test and Finish
- Gradually open the isolation valves
- Check for leaks at each connection
- Test the tap (hot and cold water)
- Retighten if necessary
Mistakes to Avoid
- Over-tightening: Can damage seals
- Forgetting Teflon: Risk of leaks
- Wrong hose direction: Hot/cold reversed
When to Call a Professional
- Old or damaged pipework
- No isolation valves
- Persistent leaks
Conclusion
With the right tools and this guide, you can install your Sanitech tap in under an hour. For any questions, contact us!
installation robinetinstaller mitigeurplomberie DIYتركيب حنفيةتركيب صنبورسباكة منزلية